MindsDB provides Docker images that facilitate running MindsDB in Docker containers.
As MindsDB integrates with numerous data sources and AI frameworks, each integration requires a set of dependencies. Hence, MindsDB provides multiple Docker images for different tasks, as outlined below.
-
mindsdb/mindsdb:latest (or mindsdb/mindsdb)
It is the lightweight Docker image of MindsDB that comes with mysql,postgresql,snowflake,bigquery,mssql and salesforce pre-installed.
-
mindsdb/mindsdb:lightwood
It is the Docker image of MindsDB that comes with thee Lightwood integration preloaded.
-
mindsdb/mindsdb:huggingface
It is the Docker image of MindsDB that comes with the Hugging Face integration preloaded.
Prerequisites
Before proceeding, ensure you have installed Docker, following the official Docker documentation.
Setup
This setup of MindsDB uses one of the available Docker images, as listed above.
When running MindsDB in one container and the integration you want to connect to it (such as Ollama or PGVector) in another container, then use http://host.docker.internal instead of localhost when connecting this integration to MindsDB.
Install MindsDB
Run this command to create a Docker container with MindsDB:
docker run --name mindsdb_container \
-e MINDSDB_APIS=http,mysql \
-p 47334:47334 -p 47335:47335 \
mindsdb/mindsdb
docker run is a native Docker command used to spin up a container.--name mindsdb_container defines a name for the container.-e MINDSDB_APIS=http,mysql defines the APIs to be exposed by the MindsDB instance. All available APIs include http, mysql, and postgres.-p 47334:47334 -p 47335:47335 defines the ports where the APIs are exposed (HTTP and MySQL respectively).mindsdb/mindsdb is a Docker image provided by MindsDB. You can choose a different one from the list above.
Once the container is created, you can use the following commands:
docker stop mindsdb_container to stop the container. Note that this may not always be necessary because when turning off the host machine, the container will also be shut down.docker start mindsdb_container to restart a stopped container with all its previous changes (such as any dependencies that were installed) intact. Note that docker start restarts a stopped container, while docker run creates a new container.
If you don’t want to follow the logs and get the prompt back, add the -d flag that stands for detach.docker run --name mindsdb_container -e MINDSDB_APIS=http -d -p 47334:47334 mindsdb/mindsdb
If you want to persist your models and configurations in the host machine, run these commands:mkdir mdb_data
docker run --name mindsdb_container -e MINDSDB_APIS=http -p 47334:47334 -v $(pwd)/mdb_data:/root/mdb_storage mindsdb/mindsdb
-v $(pwd)/mdb_data:/root/mdb_storage maps the newly created folder mdb_data on the host machine to the /root/mdb_storage inside the container. 127.0.0.1:47334 in your browser.

If you experience any issues related to MKL or your training process does not complete, please add the MKL_SERVICE_FORCE_INTEL environment variable, as below.docker run --name mindsdb_container -e MKL_SERVICE_FORCE_INTEL=1 -e MINDSDB_APIS=http -p 47334:47334 mindsdb/mindsdb
If you want to enable authentication for MindsDB, you do so by passing the MINDSDB_USERNAME and MINDSDB_PASSWORD environment variables when running the container.docker run --name mindsdb_container -e MINDSDB_USERNAME='admin' -e MINDSDB_PASSWORD='password' -e MINDSDB_APIS=http -p 47334:47334 mindsdb/mindsdb
Install dependencies
MindsDB integrates with numerous data sources and AI frameworks. To use any of the integrations, you should ensure that the required dependencies are installed in the Docker container.
Method 1
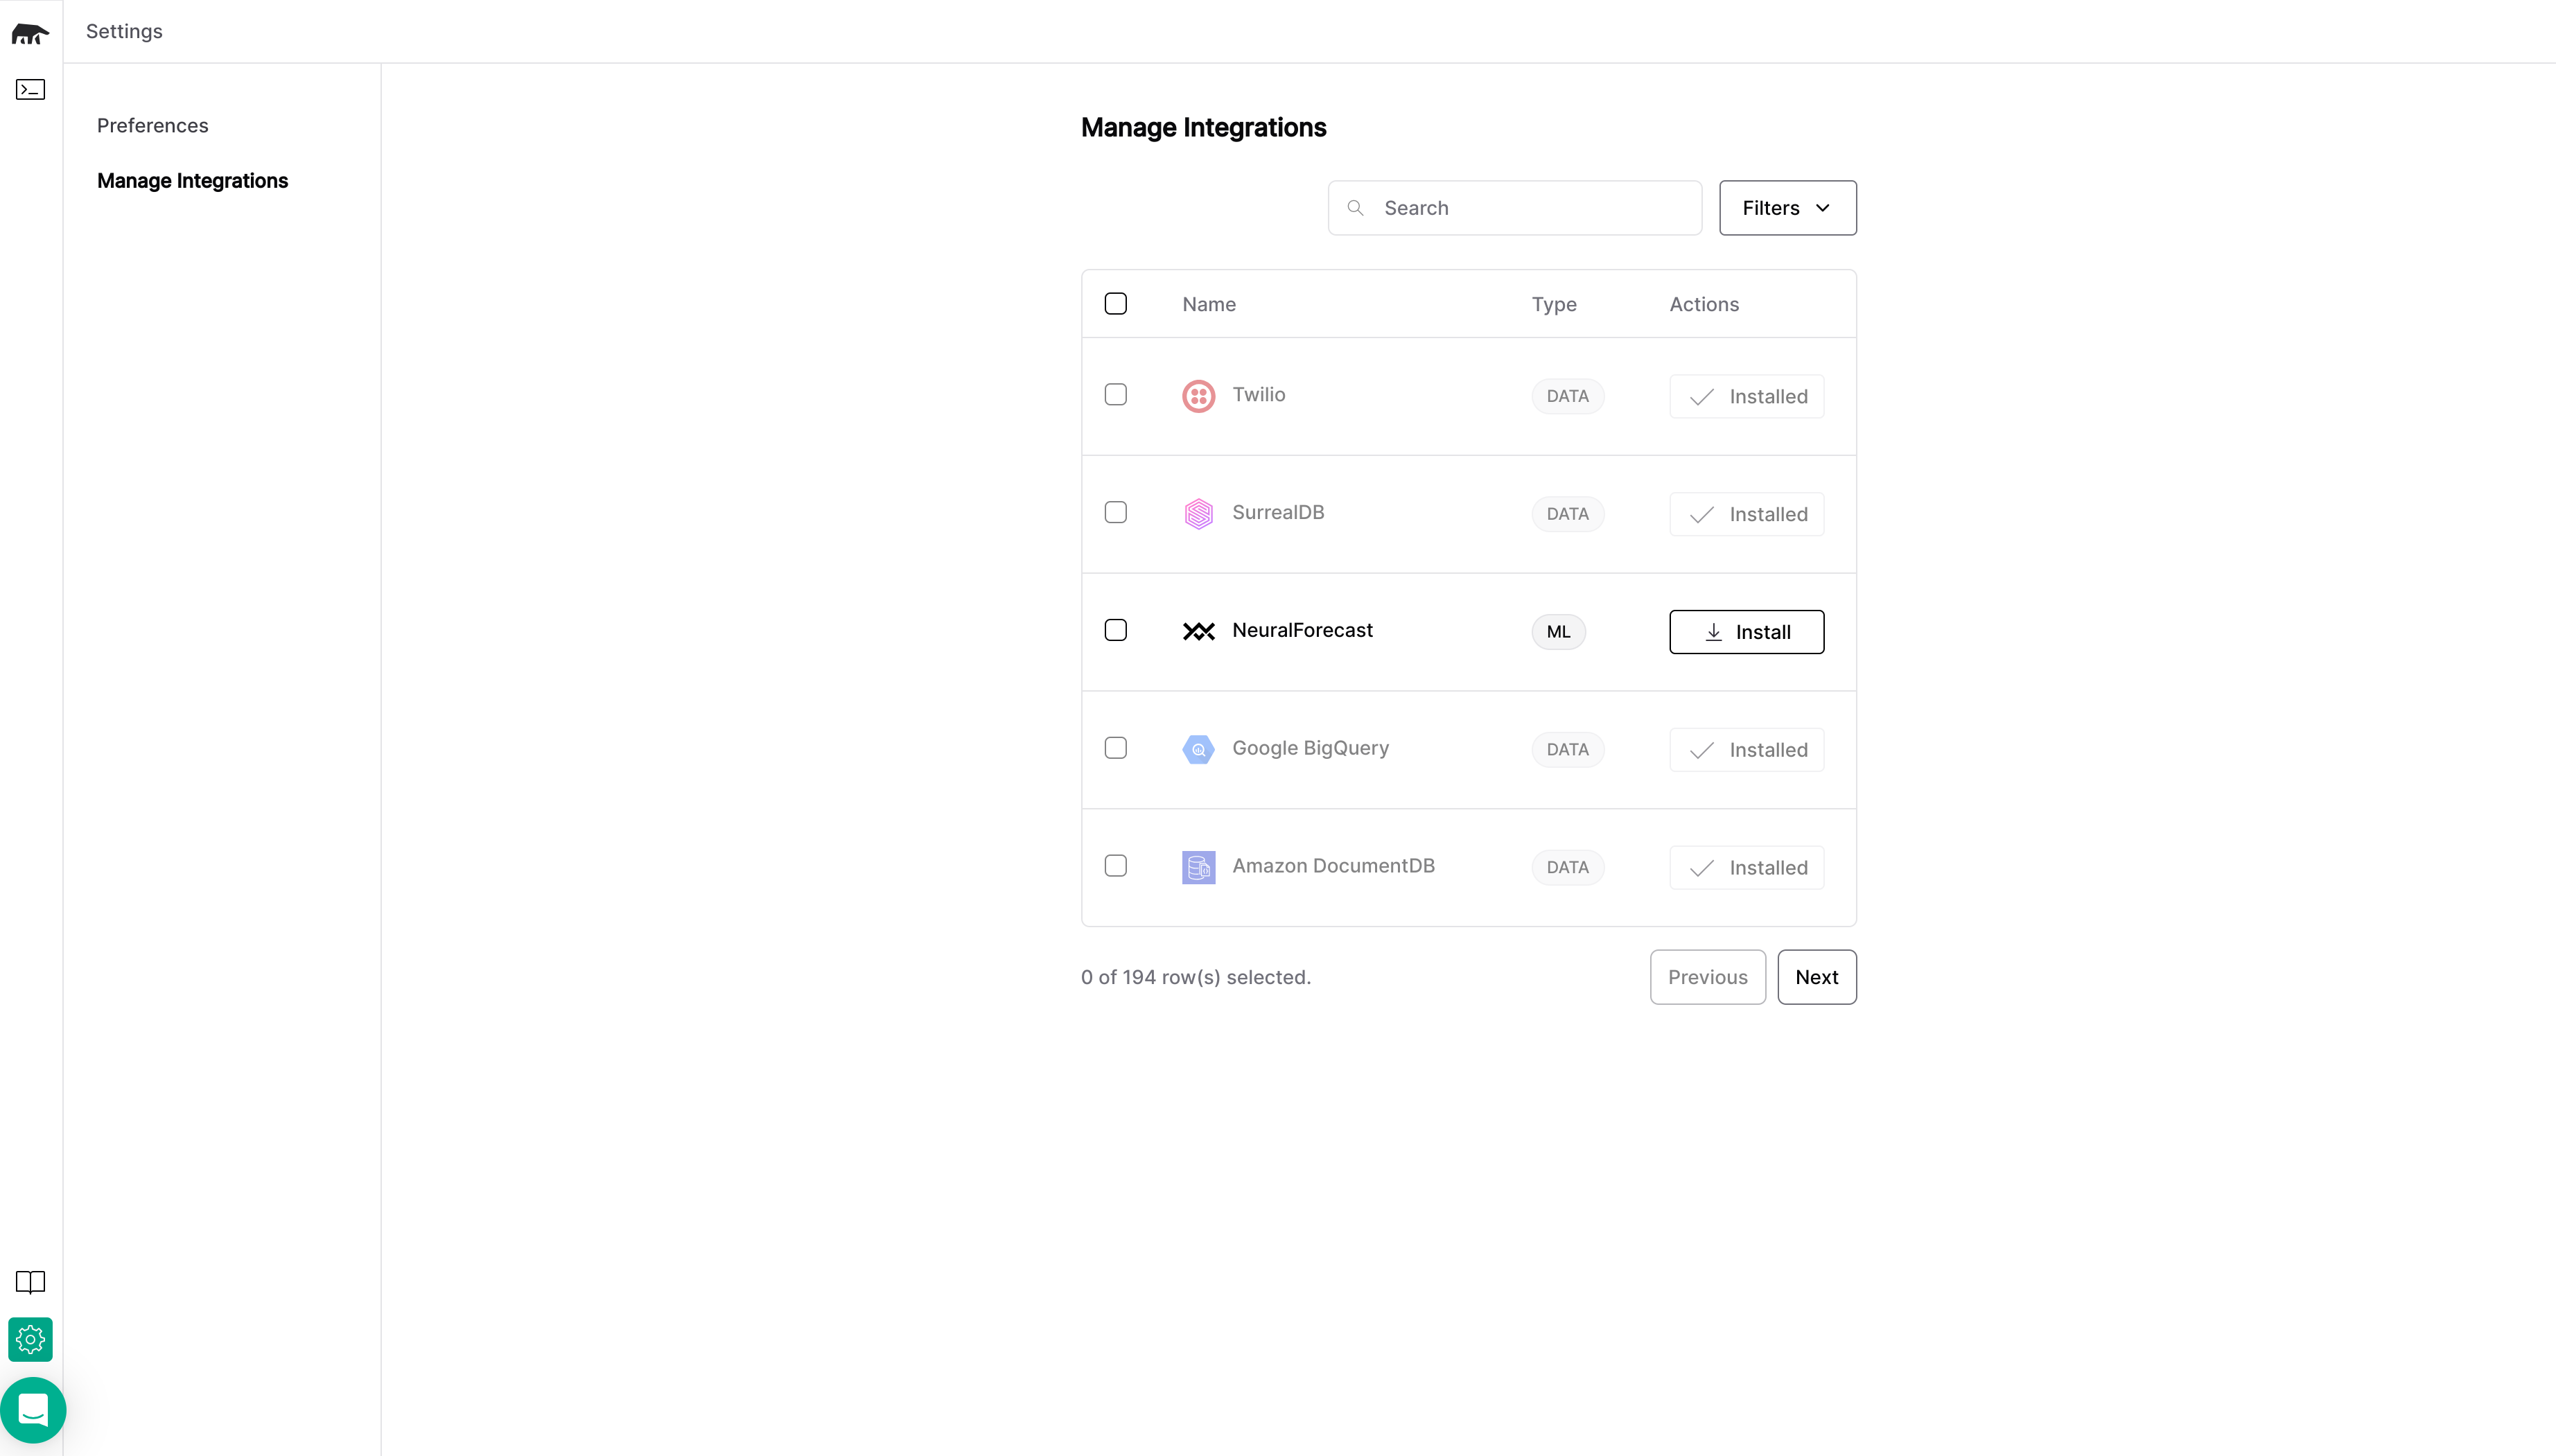
Install dependencies directly from MindsDB editor. Go to Settings and Manage Integrations, select integrations you want to use and click on Install.

Method 2
Start the MindsDB Docker container:
docker start mindsdb_container
If you haven’t specified a container name when spinning up a container with docker run, you can find it by running docker ps.
If you haven’t yet created a container, use this command:docker run --name mindsdb_container -e MINDSDB_APIS=http -d -p 47334:47334 mindsdb/mindsdb
docker exec -it mindsdb_container sh
pip install .[handler_name]
docker restart mindsdb_container
Configuration
This is a configuration for MindsDB’s Docker image that includes storage location, log level, debugging information, installed integrations, and API endpoints. These parameters can be customized by modifying a JSON file that stores default configuration.
Default configuration
The default configuration for MindsDB’s Docker image is stored as a JSON code, as below.
{
    "config_version":"1.4",
    "paths": {
        "root": "/root/mdb_storage"
    },
    "debug": false,
    "integrations": {},
    "api": {
        "http": {
            "host": "0.0.0.0",
            "port": "47334"
        },
        "mysql": {
            "host": "0.0.0.0",
            "password": "",
            "port": "47335",
            "user": "mindsdb",
            "database": "mindsdb",
            "ssl": true
        }
    }
}
Custom configuration
To override the default configuration, you can mount a config file created in your host machine over /root/mindsdb_config.json, as below.
docker run --name mindsdb_container -e MINDSDB_APIS=http -d -p 47334:47334 -v $(pwd)/mdb_config.json:/root/mindsdb_config.json mindsdb/mindsdb
What’s next?Now that you installed and started MindsDB locally in your Docker container, go ahead and find out how to create and train a model using the CREATE MODEL statement.Check out the Use Cases section to follow tutorials that cover Large Language Models, Chatbots, Time Series, Classification, and Regression models, Semantic Search, and more. 
